
What are the top 3D printing services for custom parts in 2026?
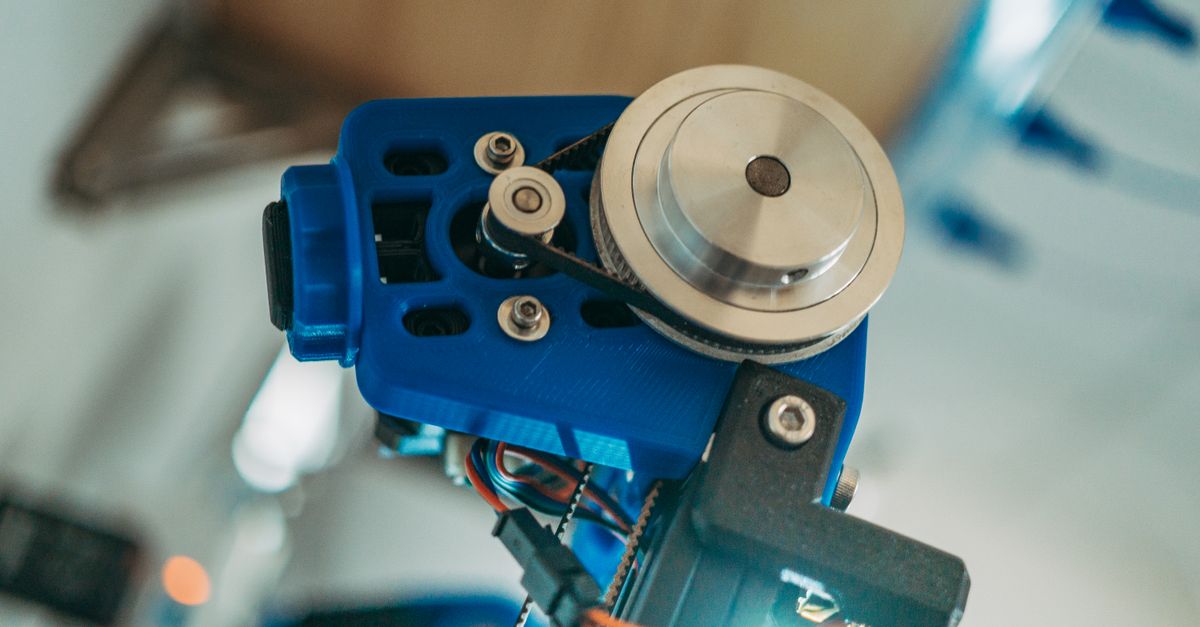
In today’s fast‑moving markets, replacing a broken component or prototyping a new design can no longer wait weeks. 3D printed replacement parts and custom 3D printing have become the go‑to solution for businesses looking to reduce downtime, cut costs, and iterate quickly. In this article I’ll walk through why 3D printed replacement parts matter, how to evaluate 3D printing services, what a typical workflow looks like, and when 3D printed architecture models or educational applications can give you an edge.
1. Why 3D Printed Replacement Parts Matter
A broken part on a machine can halt production for days. Traditional sourcing often means waiting for a supplier to ship a component that might not even exist in the right size yet. 3D printed replacement parts solve this by allowing you to create exactly what you need, on demand.
The benefits are clear:
Key Advantages of On‑Demand Parts
- Speed: From design to part in < 48 hours.
- Cost Efficiency: Avoid tooling costs for small batches.
- Customization: Tailor geometry and material properties to the exact use case.
- Inventory Reduction: Keep only a few critical components on hand.
This is especially useful in industries like aerospace, automotive, and manufacturing where downtime costs skyrocket. In my experience, swapping a failed motor shaft with a 3D printed version cut our repair time from two weeks to less than a day during a recent project.
Beyond these immediate advantages, custom 3D printing can also help companies meet evolving regulatory and sustainability goals. Because each part is designed specifically for its application, manufacturers can reduce waste by eliminating the need for multiple stock variants. In safety‑critical sectors, such as medical devices or aerospace, a single on‑site print run means you can comply with traceability requirements without waiting for external suppliers.
2. Evaluating 3D Printing Service Providers
Not all printers and providers are created equal. When choosing a 3D printing service, consider the following criteria:
Critical Evaluation Factors
- Material Portfolio: Does the provider offer the specific polymers, metals, or composites you need? A wide range allows you to pick the best trade‑off between strength, flexibility, and cost.
- Resolution & Accuracy: Check layer heights and tolerance ranges. For tight-fit assemblies you may require sub‑100 µm precision.
- Turnaround Time: Is there a fast‑track option for urgent parts? Some services offer same‑day printing with express shipping.
- Cost Structure: Look at per‑part cost versus bulk pricing. Remember that some vendors charge extra for support removal or post‑processing.
- Quality Assurance: Do they provide post‑processing, inspection reports, or certifications? A robust QA program can save you from costly reworks.
- Customer Support & Communication: Are they responsive to design queries? A helpful support team can help resolve issues before the print starts.
To benchmark providers, I recommend ordering a small test batch from two or three vendors. Measure not only cost but build quality and lead time. Keep a simple spreadsheet that records each vendor’s price, estimated delivery date, and any post‑processing fees. This data will inform future purchasing decisions and help you negotiate better rates.
3. The Custom 3D Printing Workflow in Practice
A typical custom workflow breaks down into five stages: design, material selection, prototyping, production, and post‑processing. Below is a step‑by‑step guide that can be applied whether you’re creating replacement parts or architectural models.
Step 1 – Design & File Preparation
- Use CAD tools like Fusion 360 or SolidWorks for precision. When designing for additive manufacturing, keep in mind the printer’s build envelope and minimal feature size.
- Export STL/OBJ files with clean normals and no non‑manifold edges. Running a mesh repair tool such as Netfabb can prevent common printing errors.
- Include support structures if needed; many services offer auto‑support generation, but customizing support placement can reduce material usage and post‑processing effort.
It’s also helpful to create a design review checklist. Verify dimensions, tolerances, and any required reference points before sending the file. This reduces the risk of having to request revisions later.
Step 2 – Material Selection
- Polymers: PLA, PETG, ABS, Nylon for lightweight parts. Consider temperature resistance and chemical compatibility when choosing.
- Metals: Stainless steel, titanium, aluminum for high‑strength applications. Metal prints often require heat treatment or surface finishing to achieve the desired mechanical properties.
- Composites: Carbon fiber or fiberglass reinforced plastics for stiffness. These materials can provide a higher strength‑to‑weight ratio but may need specialized printers and handling procedures.
When selecting a material, match its intrinsic properties to the part’s functional requirements: load capacity, fatigue life, corrosion resistance, and environmental exposure.
Step 3 – Prototyping & Iteration
- Print a low‑resolution prototype to validate geometry. This first run is often used for fit‑and‑function checks rather than aesthetic quality.
- Use the prototype to test fit, clearance, and mechanical performance. Conduct quick torque or compression tests if relevant.
- Iterate design as needed before committing to the final build. Minor changes in wall thickness or support angles can dramatically affect print success.
A good practice is to keep a version history of your CAD files. Label each iteration clearly (e.g., Part_v1.stl, Part_v2.stl) so you can track changes and revert if necessary.
Step 4 – Production Run
- Send finalized files to the chosen provider. Most services accept uploads via a secure portal or API integration.
- Specify finish (e.g., matte, glossy) and post‑processing steps such as sandblasting, painting, or chemical smoothing.
- Schedule inspection or quality assurance checkpoints. Some vendors allow you to request an on‑site inspection before shipping.
If you’re working with a metal printer, confirm that the service can handle heat treatment or surface polishing if your application requires it. For polymer prints, discuss whether you need a post‑processing step like acetone vapor smoothing for ABS parts.
Step 5 – Post‑Processing & Integration
- Remove supports, sand surfaces, or apply coatings. The complexity of this step depends on the material: metal parts often need machining afterward, while polymers can be finished with simple sanding.
- If required, assemble with traditional components. Use proper fasteners and alignment guides to ensure a smooth fit.
- Validate final part against functional specifications. Measure critical dimensions with calipers or coordinate measuring machines (CMM) if necessary.
In my experience, integrating a custom 3D printed bracket into our production line required just one additional step: a quick surface finish to match the existing component’s texture.
Documenting each post‑processing step in an assembly instructions sheet helps future teams replicate the process and reduces errors during re‑production.
4. 3D Printed Architecture Models vs Traditional Methods
Architectural firms have long used physical models for client presentations and design reviews. Switching from laser‑cut or hand‑built models to 3D printed architecture models can bring significant advantages.
Why Choose 3D Printed Models?
- Accuracy: Digital models translate directly into physical form without manual error.
- Complexity: Intricate details, such as façade patterns or internal structures, print effortlessly.
- Speed: Rapid prototyping allows multiple iterations in a week rather than months.
- Material Variety: From translucent resin to rugged ABS for outdoor displays.
A common misconception is that 3D printed models are too fragile. With proper material selection and support structures, they can be as durable as hand‑built counterparts. The key takeaway: for rapid design validation and client demos, 3D printed architecture models outperform traditional methods in both speed and fidelity.
Beyond presentation value, printed models can also serve functional purposes such as load testing or environmental simulations. For example, a lightweight polymer model of a bridge’s deck can be used to study wind loads without the cost of full‑scale construction.
5. 3D Printing for Education – A Game Changer
Educational institutions are leveraging 3D printing to enhance STEM learning. By incorporating 3D printing for education, schools can provide hands‑on experiences that textbooks alone cannot.
Benefits in the Classroom
- Encourages problem‑solving and iterative design.
- Provides tangible outcomes for engineering, art, and science projects.
- Reduces cost of prototyping compared to traditional fabrication labs.
- Fosters collaboration through shared digital libraries.
Implementation steps:
- Set up a dedicated 3D printing lab or partner with local makerspaces.
- Create curriculum modules that align with learning objectives.
- Offer training for teachers on CAD software and printer operation.
When designing classroom projects, consider low‑risk, high‑impact activities such as building a simple lever system or a small robotic arm. These projects demonstrate fundamental mechanical principles while keeping safety concerns minimal.
In my experience, a high‑school robotics club used 3D printing to build custom sensor housings, cutting their project development time from months to weeks.Teachers can also leverage online repositories of printable parts, allowing students to focus on design and function rather than learning complex fabrication techniques from scratch. This approach accelerates skill acquisition and encourages creative exploration.
6. Common Pitfalls and How to Avoid Them
Even with the best workflow, mistakes can happen. Here are five common issues and practical fixes:
1. Poor File Preparation
- Solution: Validate mesh integrity before sending files; use tools like Netfabb.
2. Inadequate Material Selection
- Solution: Match material properties to end‑use requirements (strength, temperature resistance).
3. Ignoring Post‑Processing Needs
- Solution: Plan for support removal and surface finishing early.
4. Overlooking Quality Assurance
- Solution: Request inspection reports or set up in‑house QA checkpoints.
5. Mismanaging Costs
- Solution: Use cost calculators from providers and compare bulk versus per‑part pricing.
By addressing these pitfalls proactively, you’ll ensure smoother operations and better ROI on every printed part.
What challenges have you faced when integrating 3D printing into your production or educational workflows, and how did you overcome them?


