
How to Use 3D Printing in Fashion, Prototyping, and Art Projects in 2026
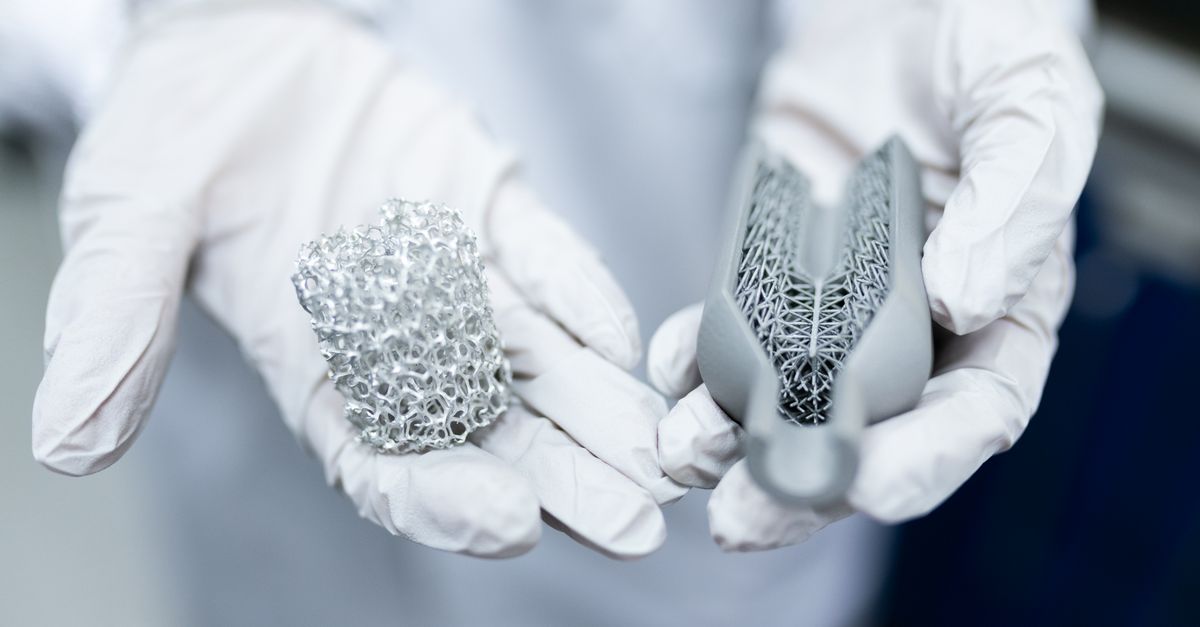
I’ve spent a decade turning ideas into tangible products. The learning curve of 3D printing is steep, but the payoff—especially in fashion, science, and art—is huge. Below is a straight‑forward FAQ covering everything from choosing the right printer to avoiding common pitfalls.
Why 3D Printing Matters in Modern Design
The core advantage is speed: go from concept to sample in days instead of weeks or months. It enables complex geometries that traditional manufacturing can’t handle and reduces waste by building only what’s needed.
Key Benefits for Designers
- Rapid iteration—test fit, style, and function quickly.
- Customizable materials—vary stiffness, texture, or color within a single piece.
- Cost‑effective small runs—ideal for limited editions or bespoke pieces.
- Sustainability—lower material usage and the ability to recycle filament scraps.
These gains translate into everyday workflow improvements. Designers can move from sketch to prototype in hours, freeing time for refining aesthetics rather than waiting for tooling. Quick iteration also slashes overall timelines and encourages experimental risk‑taking without significant financial repercussions.
Choosing the Right 3D Printer for Fashion Applications
The market offers three main categories: FDM (Fused Deposition Modeling), SLS (Selective Laser Sintering), and PolyJet. Each aligns with specific design goals.
- FDM: Cheapest, easiest to maintain; rough surface finish—good for prototypes or functional components.
- SLS: No support structures needed; strong parts with a matte finish—great for final garments or accessories.
- PolyJet: Ultra‑smooth surfaces and multi‑material options—ideal for realistic fabrics and high‑detail jewelry.
I chose an SLS machine for my smart sneaker line because the lattice structure needed to support both weight and flexibility. Maintenance is crucial: clean the extruder nozzle, update firmware, and schedule calibration checks to ensure consistent print quality and extend lifespan.
Materials That Work Best for Wearables
Material choice determines comfort, durability, and aesthetic.
- Nylon (PA): Flexible, abrasion‑resistant—excellent for active wear.
- TPU: Rubber‑like elasticity; perfect for stretchable elements like cuffs or straps.
- PETG: Food‑grade, high clarity—ideal for transparent overlays or protective panels.
- PVA: Water‑soluble support material useful for complex internal structures.
If printing directly onto a garment, combine TPU with a lightweight nylon base to balance stretch and structure. Post‑processing—sanding, priming, or fabric‑like coatings—can transform raw filament into silk or leather textures, bridging digital fabrication with traditional textile aesthetics.
Hybrid 3D Printing Techniques for Complex Garments
No printer replaces the artistry of sewing; hybrid approaches blend both worlds.
- Print functional components: zippers, buckles, or hidden pockets.
- Sew printed parts into fabric: use a thread that matches filament color for seamless integration.
- Use temporary supports (PVA): print internal lattices then dissolve to leave breathable structures.
- Finish with post‑processing: sand, prime, and paint to match textile textures.
This method saved me 30 % on labor for my latest athleisure line. Heat‑resistant adhesives or specialized sewing threads can enhance bond strength without compromising flexibility—details that distinguish a prototype from a production‑ready garment.
Rapid Prototyping in Fashion – From Sketch to Sample
- Create a CAD model: start with basic shapes, then refine details.
- Export as STL and slice: adjust layer height (0.1–0.2 mm) for balance between speed and quality.
- Print a test piece: verify dimensions and fit.
- Iterate based on feedback: use the sample to adjust CAD before final production.
This workflow cut my prototype cycle from 3 weeks to under 48 hours. For larger or more complex prototypes, designers often switch slicer profiles: a “draft” profile speeds up the first pass, while an “accurate” profile ensures the final piece meets quality expectations without excessive print time.
3D Printing for Science Projects
Scientists use 3D printing to create custom lab equipment, prosthetics, and educational tools. Common use cases include:
- Prosthetic limbs: quickly prototype adjustable sockets that fit unique anatomies.
- Microfluidic devices: print intricate channels for research without expensive cleanroom fabrication.
- Educational models: build anatomical or geological replicas at scale for classrooms.
- Custom lab fixtures: design holders and mounts tailored to specific instruments.
The biggest hurdle is ensuring biocompatibility—choosing medical‑grade filaments when needed.
Artists and the Canvas of 3D Printed Sculpture
- Material diversity: from translucent PETG to metallic alloys (brass or bronze).
- Texture manipulation: variable infill patterns mimic natural surfaces.
- Large‑scale prints: modular assembly allows pieces larger than the printer’s build volume.
- Post‑processing techniques: sandblasting, staining, or electroplating can transform a raw print into gallery‑ready art.
The freedom to experiment with geometry has made 3D printing indispensable for contemporary sculptors. Kinetic sculpture “Pulse” by Maya K. combines rotating brass rods with translucent PETG panels; post‑processing electroplating gives the metal a warm bronze hue, while sandblasted PETG creates a subtle matte effect that changes as light hits it.
Common Mistakes and How to Avoid Them
- Ignoring support settings: under‑support leads to warps; over‑support wastes filament.
- Using wrong layer height: too high compromises detail, too low increases print time unnecessarily.
- Neglecting bed adhesion: prints can lift—use a brim or glue stick.
- Overlooking material compatibility: mixing filaments without proper separation causes contamination.
A quick checklist before each job saves hours of re‑runs. Additional pitfalls include temperature drift and filament moisture absorption; keep filament dry in a sealed container and conduct regular extruder temperature checks to prevent stringing, oozing, or weak layer bonds that undermine structural integrity.
Cost Breakdown – What to Expect
| Item | Average Cost (USD) |
|---|---|
| FDM printer (entry level) | $200–$600 |
| SLS printer (mid range) | $5,000–$12,000 |
| PolyJet printer (high end) | $30,000–$70,000 |
| Filament per kg | $20–$60 |
| Post‑processing supplies | $50–$200 per project |
| Software (CAD & slicer) | $0–$300 annually |
A single prototype typically costs $150–$250 in materials and labor, depending on complexity.
Future Trends in 3D Printing for Design (2026 Outlook)
- Bioprinting: early‑stage prints of living tissues may soon allow functional skin or organ patches.
- Multi‑material printers: seamless transition between flexible and rigid sections within one print.
- AI‑driven design optimization: algorithms suggest weight‑saving structures automatically.
- Print‑ready fabrics: integration of conductive threads for smart textiles.
Staying current with these developments keeps designs competitive and forward‑thinking. Sustainability is also gaining traction; recyclable filaments from post‑consumer plastics or bio‑based polymers are mainstream, allowing designers to close the loop by reusing waste material in new prints. Cloud printing services reduce carbon footprints by aggregating jobs across shared facilities.
The most valuable takeaway: 3D printing is not a replacement for traditional design; it’s an extension that lets you experiment faster, cheaper, and more sustainably than ever before. In my experience, the biggest time saver was setting up a modular workspace where I could swap printers between projects without reconfiguring everything. What’s one design challenge you’ve faced that 3D printing might help solve?


