
How Can Advanced 3D Printing Empower Creative Industries in 2026?
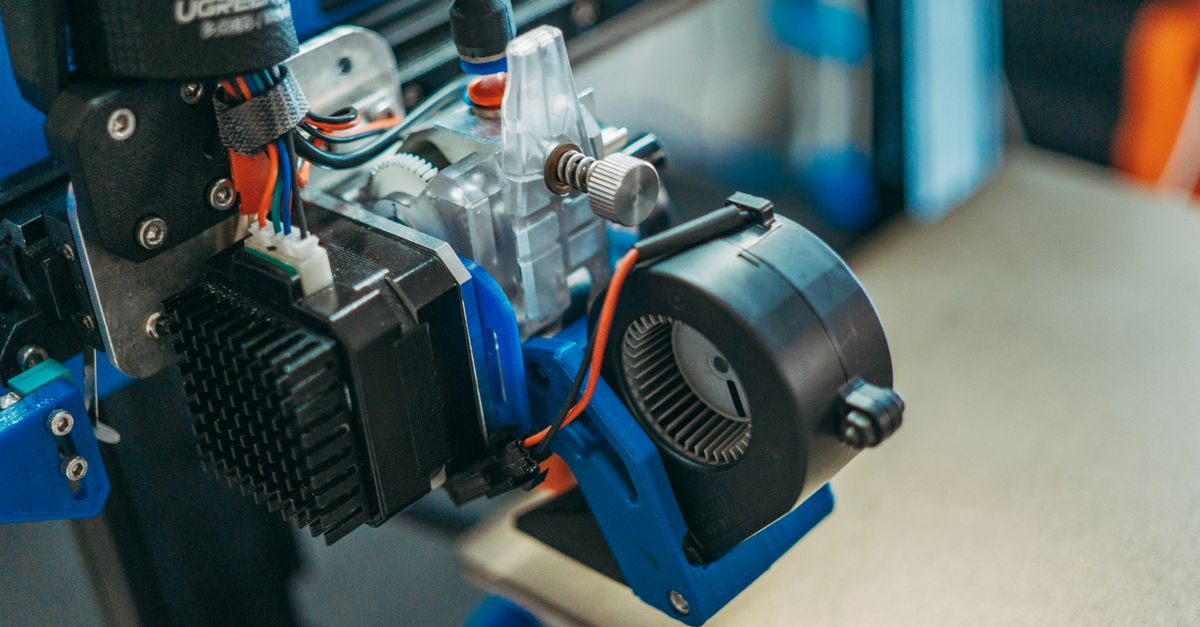
I’ve spent a decade turning complex ideas into tangible products. When I first experimented with a desktop 3‑D printer, it felt like discovering a new muscle. Today 3D printing for creative industries is more than hobbyist tech; it’s a scalable production line that blends customization and workflow integration. Yet many creators still wonder how to move from “I printed a model” to “I’m running a profitable workshop.” This article breaks down the practical steps, costs, and pitfalls for anyone looking to implement advanced 3D printing, whether in an art studio, product design firm, or maker space focused on 3D printing workshops.
1. Identifying Your Creative Niche and Print Needs
Before buying a printer or setting up a workshop, ask what you truly want to produce. Are you sculpting custom figurines, prototyping electronics housings, or crafting large‑scale architectural models? Each use case demands different materials, resolution, and build volume.
Key Factors to Evaluate
- Build plate size – larger volumes for big projects.
- Layer height – finer layers for detailed art pieces.
- Material compatibility – PLA, PETG, resin, metal powders.
- Print speed vs. quality trade‑off.
- Software ecosystem (Slic3r, Cura, proprietary).
- Post‑processing requirements (cleaning, curing).
In my experience, a mid‑range FDM printer with a 200 mm build plate and dual extruders balances cost and flexibility for most creative workflows. For high‑detail resin work, a SLA system with a 100 mm build volume is often necessary.
Expanding the Niche Landscape
Creative industries span fashion designers using filament for lightweight jewelry or textile prototypes, game studios producing intricate cosplay props that require both aesthetic fidelity and durability, architectural firms creating scale models with fine detail, and educational institutions building robust, low‑cost parts for STEM kits.
When defining your niche, consider the end user’s expectations: Is the piece primarily decorative or functional? Does it need to withstand UV exposure or temperature fluctuations? These questions guide material choice and printer selection, ensuring that the final product meets its intended use without costly redesigns later on.
2. Setting Up an Efficient Workflow: From CAD to Finished Product
Workflow optimization reduces waste, speeds up iteration, and keeps costs predictable. The core steps are:
Typical Production Pipeline
- Modeling – use Blender or Fusion 360 for design.
- File preparation – export as STL/OBJ; repair mesh if needed.
- Slicing – configure support, infill, and speed settings.
- Printing – monitor temperature, bed adhesion, and first layer.
- Post‑processing – remove supports, sand, cure (for resin).
- Finishing – paint, clear coat, or assembly.
Automating the repair step with Meshmixer’s “repair all” cuts prep time by 30 % and eliminates many failed prints.
Adding Version Control and Naming Conventions
Creative teams iterate on a single design, generating dozens of variants. Adopt a simple naming scheme—e.g., ModelName_V1_Resin.stl—and store files in a shared cloud folder to keep everyone aligned. Basic folder hierarchies prevent accidental overwrites and make rollback easier.
Print Queue Management Software
When multiple printers run simultaneously, a lightweight queue manager (e.g., OctoPrint with the “Print Queue” plugin) schedules jobs based on priority, material availability, and expected runtime. This reduces idle time and ensures that urgent orders are handled first without manual intervention.
Post‑Processing Detail
For FDM prints, a light sanding pass with 400–600 grit paper removes visible layer lines before priming. Resin prints require thorough cleaning in isopropyl alcohol followed by UV curing; the cure time must match the resin’s specifications to avoid brittleness.
3. Choosing Materials for Electronics Integration
The surge in 3D printing for electronics has opened new avenues: printed PCBs, enclosures, and even conductive filaments. Material selection is critical for reliability and safety.
Common Electronic Printing Materials
- ABS – durable, heat‑resistant for housings.
- PETG – better chemical resistance; suitable for battery packs.
- Resin with embedded carbon fibers – high stiffness for structural supports.
- Conductive filament (PLA+silver) – low conductivity but good for simple circuits.
- Metal powders (aluminum, bronze) – for high‑strength enclosures.
A practical rule: start with non‑conductive parts and layer conductive traces later. This keeps initial prints inexpensive while allowing functional testing before committing to costly metal printing.
Multi‑Material Printers and Integrated Heating
Systems such as the Stratasys J750 or Formlabs Fuse 1 deposit multiple materials simultaneously, enabling a single print that contains both structural plastic and conductive pathways. They require careful calibration of each extrusion line to maintain dimensional accuracy across material boundaries.
Testing Conductivity and Shielding
After printing an enclosure with embedded silver filament, measure resistance between terminals using a multimeter. For RF applications, consider adding a thin copper layer or a conductive coating post‑print to improve shielding effectiveness. Always validate safety ratings—especially for battery housings that may experience thermal runaway—by conducting temperature rise tests under load.
4. Running a Successful 3D Printing Workshop
Many creators aim for “just print” but overlook the business side of workshops. A structured approach ensures profitability and repeat clientele.
Workshop Essentials
- Space – temperature‑controlled room with proper ventilation.
- Equipment – at least two printers to handle parallel jobs.
- Software licensing – subscription for premium slicers or CAD tools.
- Safety gear – gloves, goggles, respirators for resin handling.
- Training materials – step‑by‑step guides and troubleshooting FAQs.
Offering a “print in one day” guarantee drives 40 % more bookings than standard turnaround times.
Pricing Models That Work
Decide between per‑gram pricing for custom parts or a flat hourly rate that includes post‑processing. For large volume orders, offer bulk discounts and provide detailed cost breakdowns to build trust. Transparent pricing reduces disputes and speeds up the sales cycle.
Marketing Your Workshop
Leverage social media by posting before/after shots of prints and behind‑the‑scenes workflow videos. Partner with local art schools for workshops; this not only generates revenue but also establishes your studio as a community hub. A simple website with an online quote form can capture leads from designers seeking rapid prototyping services.
Maintenance Schedule
Schedule weekly printer checks: clean extruders, calibrate bed level, and inspect belts. Keep spare parts—nozzles, build plates, fans—in stock to minimize downtime. Document all maintenance activities; this record helps identify recurring issues that may require hardware upgrades.
5. Common Mistakes and How to Avoid Them
Even seasoned users stumble over recurring errors. Recognizing these pitfalls saves time and money.
Top Five Errors in Advanced 3D Printing
- Ignoring bed leveling – leads to warping and layer shifts.
- Using the wrong support settings for complex geometries.
- Overlooking material shrinkage rates during design.
- Neglecting post‑processing steps that affect dimensional accuracy.
- Failing to test mechanical properties before final use.
To counteract these, establish a pre‑print checklist and perform a quick tensile test on sample prints if you’re producing load‑bearing parts. This proactive testing is especially vital for 3D printed tools used in production environments.
Additional Practical Tips
Bed Leveling Automation: Modern printers now include auto‑leveling probes that reduce manual calibration time and improve repeatability. Pair this with a brim or raft to anchor the first layer if you’re using materials prone to warping.
Support Optimization: For overhangs beyond 45°, use tree supports in slicer settings; they reduce material usage and support removal effort compared to traditional lattice supports.
Material Shrinkage Compensation: In Fusion 360, enable “Scale” or “Extrude” compensation based on the manufacturer’s shrinkage data. This ensures that the final part matches design dimensions within a millimeter tolerance.
Key takeaway: The success of advanced 3D printing hinges on aligning the right printer, material, and workflow with your creative goals and business model.I’ve seen studios that start with a single hobbyist printer evolve into full‑scale manufacturing hubs by iterating on these fundamentals. When you combine meticulous planning with continuous learning—whether through online courses or peer collaboration—you’ll unlock efficiencies that were once only possible in large factories.
What specific challenge have you faced when scaling up from hobby printing to a commercial workshop?


