
How Can 3D Printing Improve Manufacturing Efficiency in 2026?
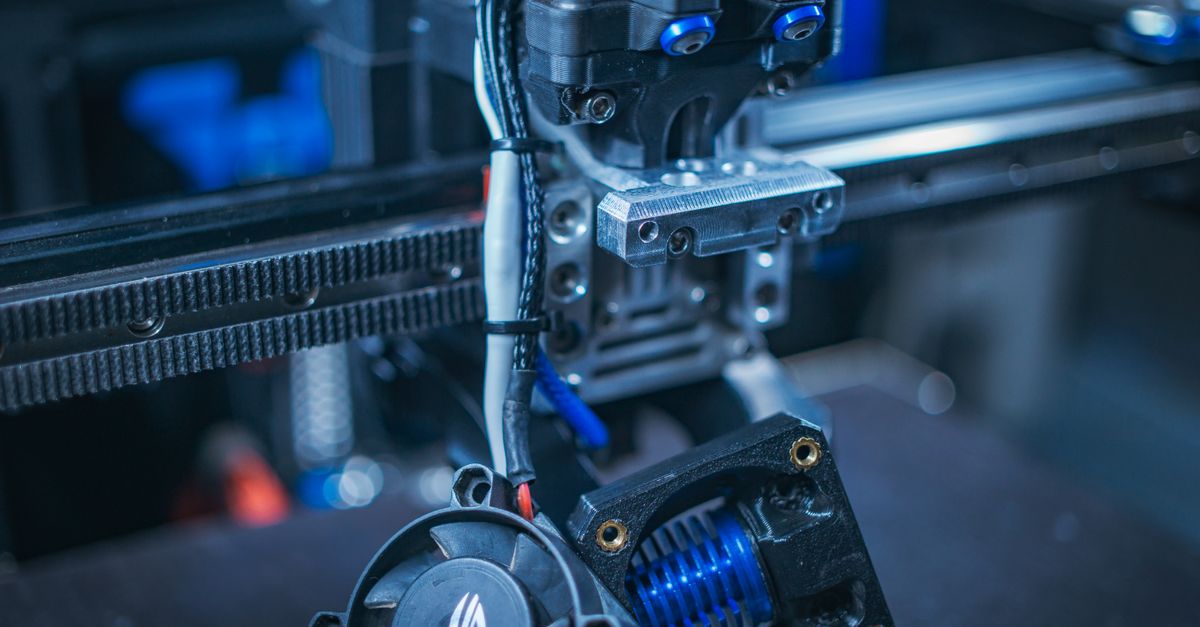
Manufacturing has entered a new era where additive manufacturing—commonly known as 3D printing—offers unprecedented flexibility and speed. If you’re looking to reduce lead times, cut tooling costs, or iterate product designs rapidly, understanding how to integrate 3D printing into your workflow is essential. Below I lay out a practical roadmap for using 3D printing in manufacturing, from selecting the right technology to deciding when to outsource.
Choosing the Right 3D Printing Technology for Manufacturing
The first decision in any production pipeline is the choice of printer and process. Each technology has trade‑offs that impact material properties, build speed, and cost per part.
- Fused Deposition Modeling (FDM): Economical, good for prototypes or low‑volume parts; limited surface finish.
- Stereolithography (SLA) / Digital Light Processing (DLP): High resolution and excellent detail; best suited to small, complex components.
- Selective Laser Sintering (SLS): No support structures needed, ideal for functional parts with intricate geometries.
- Binder Jetting: Fast build times, good for large parts but often requires post‑processing.
Key takeaway: Match the process to your part’s functional requirements and volume needs.
When evaluating a printer, consider material library, nozzle size, print speed, and maintenance costs. In my experience, a hybrid setup—using FDM for rapid iterations and SLS for final production runs—provides the best balance of cost and quality. For example, an automotive manufacturer might prototype interior trim with FDM to test ergonomics, then switch to SLS to produce lightweight structural brackets that must withstand impact loads.
Beyond the core process, pay attention to the following decision points:
- Material Availability: Some printers support a wide range of polymers, composites, or even metal powders. Verify that the desired material meets mechanical and regulatory requirements.
- Build Volume vs. Part Size: Large parts such as heat exchangers can be printed in one piece with binder jetting or in sections with FDM, then assembled.
- Post‑Processing Workload: SLA prints often require resin removal and post‑curing, while SLS parts may need minimal finishing. Factor these steps into the total cost of ownership.
Leveraging 3D Printing for Rapid Product Development
Additive manufacturing accelerates the prototype cycle by allowing you to print a functional model in hours rather than weeks. This speed enables quicker validation of design concepts, weight reduction studies, and ergonomic testing.
- Design for Additive Manufacturing (DfAM): Simplify overhangs, reduce support material, and use lattice structures where possible.
- Tolerance Management: Account for anisotropic shrinkage; calibrate printer settings based on test prints.
- Surface Finish Planning: Decide early whether you’ll need post‑processing (sandblasting, chemical smoothing) or if a rougher finish is acceptable.
- Iterative Feedback Loop: Incorporate user testing after each print to refine the next iteration quickly.
The result is a shorter time‑to‑market and lower development costs. By integrating 3D printing into the early stages, you also reduce the risk of costly redesigns later in the production cycle.
To make this process even more efficient, adopt a structured workflow:
- Design Capture: Export CAD models to STL or OBJ formats that are universally accepted by most slicers.
- Simulation & Analysis: Run finite element analysis (FEA) directly on the digital model to identify stress hotspots before printing.
- Print Testing: Produce a small batch of test parts, using a single printer run to capture variations caused by machine drift.
- Validation: Measure critical dimensions with calipers or laser scanners and compare against design tolerances.
- Iteration: Update the CAD model based on real‑world data and repeat until performance criteria are met.
Optimizing 3D Printed Parts for Production Quality
When moving from prototype to production, quality control becomes paramount. Even with a high‑end printer, small process variations can lead to dimensional inaccuracies.
- Orientation Optimization: Position parts to minimize support structures and ensure critical surfaces are level.
- Infill Density Selection: Balance strength with material usage; test different densities for load‑bearing parts.
- Post‑Processing Standardization: Establish a routine—cleaning, curing, finishing—to achieve consistent surface properties.
- Dimensional Verification: Use calipers or coordinate measuring machines (CMM) to verify tolerances after each batch.
Implementing these practices ensures that your 3D printed parts meet the same standards as traditionally manufactured components. In my experience, a small investment in automated inspection tools pays off by catching defects early and reducing waste.
Additional practical steps include:
- Calibration Coupons: Print simple geometry coupons with each new material lot to verify dimensional accuracy and surface roughness before producing critical parts.
- Environmental Controls: Maintain stable temperature and humidity in the printing environment; fluctuations can cause warping or layer separation.
- Software Updates: Keep slicing software up to date, as newer firmware often includes improved support algorithms and print speed optimizations.
When to Outsource: Evaluating In‑House vs. 3D Printing Services
Deciding whether to build an in‑house additive manufacturing capability or partner with a service provider hinges on several factors:
- Volume Requirements: High-volume runs may still be cheaper with CNC machining; low to medium volumes favor 3D printing.
- Capital Expenditure vs. Operational Expense: Purchasing printers, materials, and training can be costly upfront.
- Confidentiality Concerns: Sensitive designs might necessitate in‑house production or tightly controlled service agreements.
- Speed to Market: Service providers often have multiple machines running simultaneously, reducing lead times.
- Technical Expertise: Outsourcing frees your team to focus on core product development rather than printer maintenance.
A pragmatic approach is to start with a pilot project outsourced to a reputable 3D printing service. Once you validate the process and quality, you can decide whether scaling in‑house is justified.
When evaluating service providers, consider:
- Turnaround Times: Confirm realistic delivery windows for both prototypes and small production runs.
- Material Certifications: Verify that the provider’s materials meet industry standards (e.g., ISO 9001, ASTM).
- Quality Assurance Processes: Ask about post‑processing protocols, inspection methods, and traceability records.
- Cost Structures: Compare per-part pricing versus hourly rates, and ask for a detailed breakdown of potential hidden costs such as support removal or surface finishing.
Getting Started with a 3D Printing Consultation
Engaging a specialist early can streamline your adoption path. Here’s how to make the most of a consultation:
- Define Objectives: Clarify what you aim to achieve—speed, cost reduction, design freedom.
- Scope Assessment: Provide CAD files, material specifications, and expected volumes.
- Budget Alignment: Agree on pricing models (per part vs. per hour) and potential hidden costs.
- Deliverables Agreement: Specify prototypes, test prints, or full production runs.
- Timeline Coordination: Set realistic milestones for design review, printing, post‑processing, and inspection.
A good consultant will also advise on material selection, printer choice, and best practices that align with your manufacturing goals. In my experience, a clear written scope reduces misunderstandings and keeps projects on track.
Before the meeting, prepare a brief dossier:
- Project Overview: Include background, desired outcomes, and key performance indicators.
- Design Files: Upload high‑resolution CAD models with annotations highlighting potential challenges (e.g., overhangs).
- Regulatory Requirements: List any industry certifications or compliance standards the part must meet.
- Budget Constraints: Outline your financial limits and desired cost‑per‑unit targets.
Scaling Production with 3D Printing in 2026
Once you’ve proven the concept, scaling involves integrating additive manufacturing into existing supply chains. Consider the following:
- Hybrid Manufacturing Loops: Combine 3D printing for complex parts with traditional machining for high‑volume components.
- Supply Chain Visibility: Track print jobs in real time using cloud platforms to manage inventory and lead times.
- Continuous Improvement: Use data from each batch—temperature logs, print failures—to refine process parameters.
- Regulatory Compliance: For aerospace or medical applications, validate material certifications and traceability.
By embedding 3D printing into your production strategy, you can respond to market changes faster while maintaining quality standards. This agility is especially valuable in 2026 where product lifecycles are shortening rapidly.
Practical steps for scaling include:
- Standard Operating Procedures (SOPs): Document every step from CAD preparation to post‑processing, ensuring consistency across multiple printers or sites.
- Digital Twins: Create a virtual replica of the production line that mirrors real‑time data; use it for predictive maintenance and performance optimization.
- Vendor Management: Maintain relationships with material suppliers and service providers to secure priority access during high demand periods.
- Workforce Upskilling: Offer training programs focused on DfAM, post‑processing techniques, and data analytics for process improvement.
Ultimately, the goal is to treat additive manufacturing as a core capability rather than an add‑on. When you can reliably produce complex parts at scale, you free up resources that were previously tied up in tooling or rework, creating a more resilient and responsive production environment.
What challenges have you faced when integrating additive manufacturing into your existing production workflow?


