
How Can 3D Printing Improve Branding and Prototype Development in 2026?
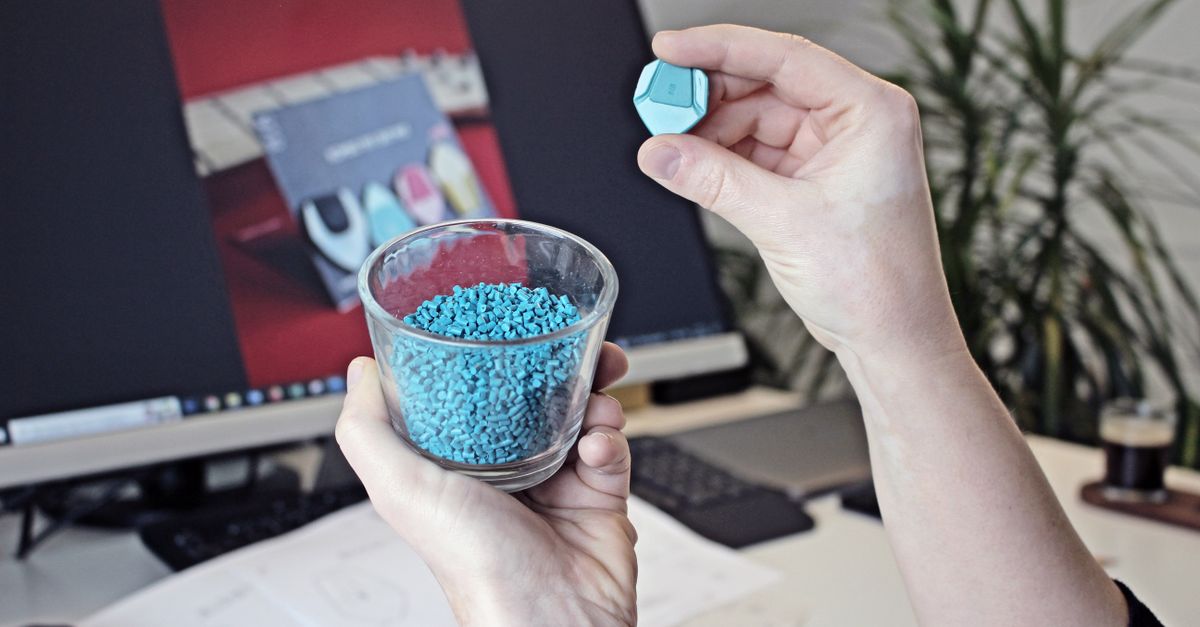
I’ve spent the last decade turning ideas into tangible products. Whether it’s a sleek promotional giveaway or a lightweight aerospace component, 3D printing has become the bridge between concept and reality. In this roundtable‑style article I’ll break down how to choose materials, streamline workflows, avoid common mistakes, and scale from prototype to production—all while keeping costs in check.
Why 3D Printing Matters for Branding
Branding isn’t just about logos on a website; it’s an experience that customers can hold. A well‑crafted, brand‑specific object can create lasting impressions and foster loyalty. 3D printing lets you produce custom shapes, textures, and sizes quickly and affordably.
Key Benefits of 3D Printing for Brand Assets
- Speed to Market: Print prototypes in days instead of weeks.
- Customization: Unique geometries that off‑the‑shelf items can’t match.
- Cost Efficiency: Low material waste and no tooling required for small runs.
- Iterative Design: Test feel, fit, and aesthetics with minimal lead time.
A prime example is the recent partnership between a tech startup and a 3D printing service to create limited‑edition USB drives. By embedding their logo in a complex lattice design, they achieved a premium look while keeping production costs under $0.50 per unit, a fraction of what traditional injection molding would have required.
The real advantage is the ability to iterate on physical form as quickly as you iterate on digital assets.Choosing the Right Material and Printer for Custom Prototypes
Your material choice directly impacts strength, finish, and cost. Below are common options paired with suitable printer types.
- PLA (Polylactic Acid) – Easy to print, biodegradable; great for visual prototypes but not heat‑resistant.
- PETG – Stronger than PLA, flexible, and food‑safe; ideal for functional parts that need durability.
- ABS (Acrylonitrile Butadiene Styrene) – Heat‑resistant, tougher; requires heated bed and good ventilation.
- Resin (SLA/SLS) – Ultra‑smooth surface finish, high detail; perfect for branding tokens where appearance matters.
- Metal powders (e.g., Ti‑6Al‑4V, Stainless Steel) – For aerospace or industrial parts requiring strength and precision.
- TPU/Flexibles – Silicone‑like elasticity useful for grips or wearable accessories; printed with specialized FDM machines.
- Nylon 12 (SLS) – Excellent impact resistance and low density, commonly used in functional aerospace brackets.
The printer type should match your material. FDM is economical for PLA/PETG/ABS, SLA offers fine detail for resin, while SLS handles nylon composites without support structures. When working with resins, remember that post‑curing times can vary; a typical 60 minute UV cure ensures dimensional stability and surface hardness.
In addition to the base material, consider filament diameter (1.75 mm vs 2.85 mm) as it influences feed rate and resolution. Larger diameters provide stronger extrusion but require higher torque motors, whereas smaller diameters allow for finer detail at the expense of speed.
Workflow From Concept to Prototype
Even the most advanced printers require a disciplined workflow. Follow these steps to avoid costly mistakes.
Step‑by‑Step Workflow
- Design: Use CAD tools (Fusion 360, SolidWorks) to create a clean model; keep tolerances realistic for additive manufacturing.
- File Preparation: Export as STL/OBJ; check mesh integrity and manifoldness.
- Slicing: Set layer height, infill, supports based on material properties.
- Printing: Monitor temperature, bed adhesion, and first‑layer quality.
- Post‑Processing: Remove supports, sand, polish, or cure resin; apply finishes as needed.
Beyond the core steps, consider adding a simulation phase before printing. Most CAD suites now include finite element analysis (FEA) that can predict stress hotspots and guide design tweaks—especially critical for aerospace parts where weight and load capacity are paramount.
In my experience, the biggest time drain is post‑processing when you don’t plan for it from day one.Many designers also adopt a version control system for their CAD files. Storing models in cloud repositories (e.g., GitHub or Autodesk Drive) allows team members to track changes, revert to earlier iterations, and avoid the dreaded “last‑minute redesign” that can stall production.
Aerospace Case Study: Rapid Functional Prototyping
One of my recent aerospace clients needed a lightweight bracket for an unmanned aerial vehicle. They required rapid iteration to meet a tight flight test schedule.
- Material: Nylon 12 via SLS – offers high strength‑to‑weight ratio.
- Print Time: 48 hours for a 150 g part.
- Testing: Static load tests and vibration analysis confirmed compliance with FAA standards.
The ability to iterate quickly saved the project three weeks of tooling development. For aerospace, consider adding lattice structures to reduce weight further while maintaining strength—an approach that can cut material usage by up to 40% without compromising structural integrity.
Common Pitfalls & How to Avoid Them
Even seasoned users fall into traps that inflate cost and delay delivery.
Top Mistakes & Mitigation Strategies
- Inadequate Support Design: Use auto‑support tools but manually review critical overhangs. For example, a 60° overhang on an ABS part can lead to sagging if not properly supported.
- Ignoring Build Plate Adhesion: Apply a suitable primer or use a glass bed for resin prints.
- Overlooking Material Shrinkage: Add compensation in CAD or use software that predicts shrinkage.
- Skipping Post‑Processing Planning: Allocate at least 30% of the total cycle time for finishing.
- Underestimating Costs: Include filament, energy usage, and labor in your budget.
- Lack of Quality Control: Implement a checklist that verifies dimensional accuracy and surface finish after each print run.
- Regulatory Oversight: For aerospace parts, maintain traceability records for every material batch to satisfy certification bodies.
A real-world example: A brand launching a limited‑edition keychain printed in resin experienced a 15% defect rate because support removal left micro‑cracks. By switching to a two‑step post‑process—first removing supports with a fine brush, then polishing with a microfiber cloth—the defect rate dropped below 3%, saving both time and material.
Scaling from Prototype to Production
Once a prototype satisfies functional and aesthetic criteria, you need to decide how to move into larger volumes.
- Low‑Volume Production: Continue with 3D printing using high‑grade materials; good for niche markets.
- Mold Making: Create silicone or metal molds from a master prototype for injection molding.
- Hybrid Manufacturing: Use additive manufacturing to create complex internal features, then fill with traditional processes.
Choosing the right path depends on volume forecasts, cost tolerance, and required precision. For instance, a boutique fashion brand might print 500 custom jewelry pieces directly from a high‑resolution resin printer, whereas a consumer electronics firm would likely transition to injection molding once demand exceeds 2,000 units per month.
Some companies opt for “additive manufacturing of the mold” itself—printing a master with integrated cooling channels or venting systems that are then cast into silicone. This hybrid approach reduces tooling cost while preserving the design freedom of additive processes.
Cost Considerations & ROI
To justify 3D printing investments, break down all expenses and compare them to conventional methods.
- Hardware: FDM printers range $1,500–$5,000; SLA/SLS can exceed $10,000.
- Materials: PLA ~$25/100 g; resin ~$60/250 mL; metal powders ~$400/100 g.
- Labor & Post‑Processing: Often 20–30% of total cost if outsourced. A typical post‑processing crew can finish a batch of 10 resin parts in under two hours.
- Tooling Savings: Eliminates mold costs for small runs (often $5,000–$10,000).
- Energy Consumption: An SLA printer uses ~120 W per hour; a high‑end SLS machine can consume up to 2 kW during build.
For branding items, the ROI is immediate through faster delivery and higher customer engagement. For aerospace parts, the payoff comes from reduced weight and accelerated development cycles. A quick calculation: printing a 150 g nylon bracket at $0.50/gram ($75) plus 10 % post‑processing ($7.50) totals ~$82.50—half the cost of an injection‑molded version that would require $200 in tooling alone.
Future Trends in 3D Printing for Branding & Aerospace
The technology landscape continues to evolve rapidly. Keep an eye on these emerging trends that will shape next‑generation prototypes.
- Multi‑Material Printing: Enables functional and aesthetic features in a single build, such as embedding a soft silicone grip into a hard plastic shell.
- Metal 3D Printing Advances: Lower cost, higher resolution for aerospace components.
- AI‑Assisted Design: Automatic topology optimization reduces weight while preserving strength.
- Large‑Scale Additive Manufacturing: Builds entire subassemblies rather than individual parts.
- Smart Materials: Embedding sensors or conductive pathways during printing for real‑time monitoring.
Staying ahead of these trends can give brands a competitive edge and aerospace firms a technological advantage. For example, a company that adopts multi‑material prints to create custom-branded promotional items with integrated RFID tags will not only impress customers but also gather valuable data on product usage.
What challenges have you faced when transitioning from 3D printed prototypes to production, and how did you address them?


