
How 3D Printing Is Transforming Exhibition Design and Packaging in 2026
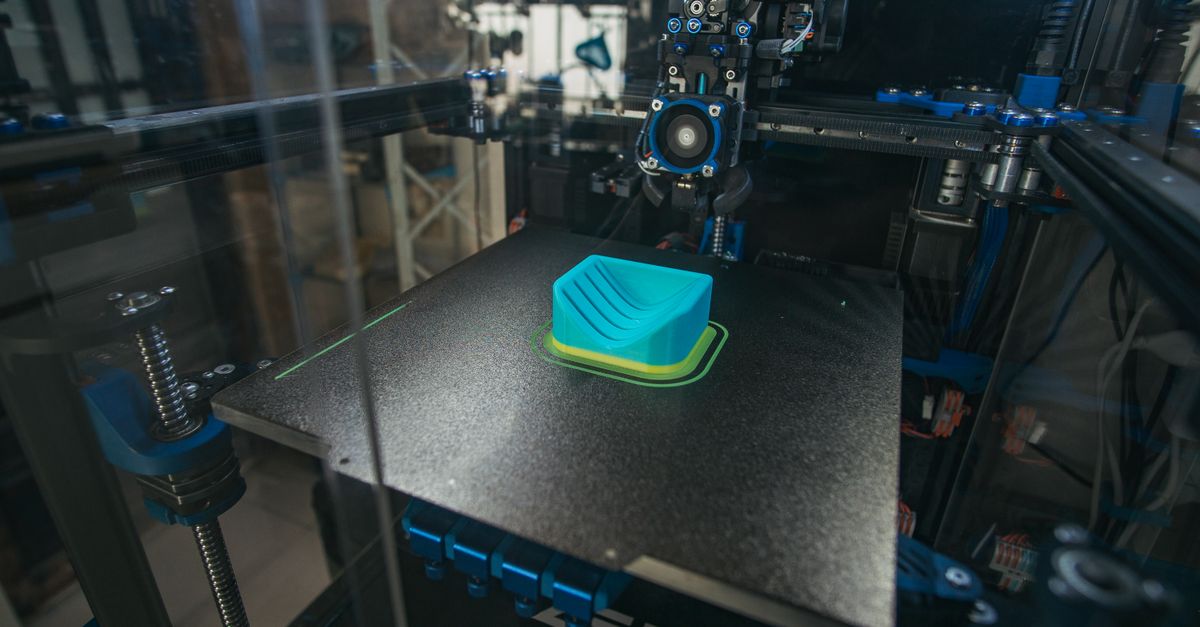
The challenge of creating striking exhibition displays and functional packaging has always been a balancing act between cost, speed, and customization. In 2026 the game‑changer is advanced 3D printing: it allows rapid iteration, complex geometries, and material versatility that traditional manufacturing can’t match. Below I break down why this technology matters for exhibitors and brands, how to choose the right setup, and practical steps to move from prototype to production while keeping costs in check.
Why 3D Printing Matters for Exhibitions
Exhibitors need visuals that capture attention instantly. Conventional methods—laser cutting, CNC milling, or injection molding—often require lead times of weeks and are limited by design constraints. 3D printing eliminates many of those bottlenecks. It lets designers iterate quickly, test fit against other components, and produce lightweight, custom shapes that would be impossible with subtractive processes.
Moreover, the ability to print in a variety of materials—resin, nylon, metal powders—means we can match texture, finish, and structural requirements on demand. This flexibility translates into higher engagement rates at trade shows because displays stand out for their originality rather than generic cardboard boxes or pre‑made panels.
In my experience, the first time I printed a full‑scale booth backdrop in a single resin build saved us three days of shipping and assembly that would have otherwise cost $2,500. The instant feedback loop also allowed us to tweak color gradients mid‑run, something impossible with traditional painting.
Beyond static backdrops, 3D printing empowers exhibitors to create interactive kiosks with integrated circuitry housings or modular lighting rigs that can be reconfigured between shows. A single machine can produce a custom fixture and its mounting brackets in one job, ensuring perfect alignment and reducing the number of separate parts that need shipping.
In addition, 3D printing enables rapid customization for each event. If a client wants to showcase a new product line, designers can modify a single part file and print it on-site or within a few days, giving exhibitors the agility to keep their booth fresh without committing to expensive long‑term contracts.
Key Advantages of Advanced 3D Printing in Packaging
Packaging is often the first touchpoint a customer has with a product. It needs to protect, inform, and persuade—all while staying cost‑effective. Advanced 3D printing offers several advantages:
- Complex Geometry – Custom ventilation, integrated branding elements, or ergonomic grips can be printed in one piece.
- Rapid Prototyping – Test fit and adjust dimensions without waiting for molds.
- Sustainability – Use biodegradable polymers or recycled filaments to reduce environmental impact.
- On‑Demand Production – Reduce inventory costs by printing only what’s needed, when it’s needed.
- Brand Differentiation – Unique textures and shapes create a memorable unboxing experience.
The result is packaging that not only protects but also tells the brand story in a tactile way. That narrative power can translate into higher conversion rates on e‑commerce platforms where visual appeal matters as much as price.
In addition, multi‑material printers now allow designers to embed soft‑touch coatings or QR codes directly during printing, eliminating post‑assembly steps and preserving the integrity of delicate features that would otherwise crack when glued or taped. This capability is especially useful for premium electronics where a sleek, matte finish can enhance perceived value.
Choosing the Right Material and Build Volume
Material selection hinges on end use: structural strength, aesthetic finish, cost, and regulatory compliance. Below is a quick reference guide to help decide:
Materials for Exhibits and Packaging
The most common choices in 2026 are PETG, ABS, flexible TPU, and high‑strength nylon.- PETG – Strong, glossy finish; good for displays that need to be durable yet visually appealing.
- ABS – Heat resistant, ideal for components exposed to sunlight or heat.
- TPU (Flexible) – Excellent for protective grips and shock‑absorbing elements.
- Nylon 12/6 – High tensile strength; great for load‑bearing packaging structures.
- Metals (Aluminum, Stainless Steel) – For high‑end or industrial displays where weight and form factor matter.
Build volume dictates the maximum size of an object you can print in one go. Most commercial desktop printers now offer 300 mm × 300 mm × 400 mm builds, but for full booth components you’ll need a larger industrial printer or to section the design into modular parts.
When choosing a machine, consider not only the raw build size but also the layer resolution and material compatibility. For example, an SLA system with 25 µm layer height can produce smoother surface finishes suitable for polished branding panels, while FDM printers excel at quick production of larger structural elements.
Post‑processing options such as acetone vapor smoothing for ABS or resin curing times also influence the final texture and durability. A well‑chosen material combined with a compatible printer ensures that the finished part meets both visual and functional specifications without excessive labor.
From Prototype to Production: Workflow Tips
Transitioning from a rapid prototype to a production‑ready build requires disciplined steps. Below is a streamlined workflow that I’ve applied in several projects:
- Design for Additive Manufacturing (DfAM) – Keep overhangs <45°, use support structures wisely, and avoid thin walls unless necessary.
- Create a Print‑Ready Model – Export STL or OBJ with correct orientation; slice with a calibrated layer height of 0.1 mm for fine detail.
- Test Build a Small Scale Prototype – Verify geometry and fit before committing to a full build.
- Iterate Quickly – Use software like Meshmixer or Netfabb to adjust the model on the fly.
- Material Validation – Print a small sample in each material to evaluate strength, finish, and cost.
- Final Production Build – Scale up to full size; monitor temperature, print speed, and cooling fan settings for consistency.
- Post‑Processing – Clean supports, sand surfaces, apply coatings or paint as needed.
- Quality Control Checklist – Measure dimensions, test structural integrity, and verify branding alignment.
In my experience, skipping the small prototype step often leads to costly re‑prints. I once printed a 60 kg display stand in a single run only to find it warped after shipping; an early scale model would have revealed that issue.
For high‑volume runs, consider batching prints with shared support removal stations or automated sanding rigs. This reduces labor time and ensures consistent surface quality across dozens of units.
A final tip: maintain a versioned library of all CAD files and slice settings. This practice speeds up future projects because you can reuse proven configurations instead of starting from scratch each time.
Cost Considerations & ROI Analysis
3D printing can be cheaper than traditional manufacturing for low‑volume, highly customized parts. However, hidden costs—material waste, post‑processing, and printer maintenance—must be factored in. A simple cost model looks like this:
Cost = (Material Cost + Post‑Processing) × Volume + Printer Depreciation + Labor
For example, printing a 200 mm × 150 mm × 100 mm enclosure in PETG might use 0.5 kg of filament (~$30). Add $10 for post‑processing and $2 for labor per unit. If you print 50 units, the total cost is roughly $1,800—well below a $3,500 injection mold contract for the same quantity.
ROI improves when you factor in lead time savings ($5,000 in expedited shipping) and marketing value (higher brand perception). A quick break‑even analysis often shows that 3D printing pays off for runs up to 200 units; beyond that, traditional molding becomes more economical.
For larger batches, consider a hybrid approach: use 3D printing to produce a master mold or a set of inserts and then switch to injection molding. This strategy combines the flexibility of additive manufacturing with the economies of scale from conventional tooling.
Common Pitfalls and How to Avoid Them
Even with the best tools, mistakes happen. Here are frequent issues and how I mitigate them:
- Warping or Delamination – Use heated beds, proper adhesion promoters, and enclosures for temperature control.
- Support Overuse – Optimize support settings; consider dissolvable supports for complex geometries.
- Material Inconsistency – Keep filament in a dry environment; calibrate printers regularly.
- Overlooking Build Orientation – Position critical features on the build plate to reduce stress and improve surface finish.
- Ignoring Post‑Processing Time – Factor sanding, painting, or curing into your schedule; it can double print time.
By treating 3D printing as a full production pipeline rather than just a prototyping tool, you avoid costly rework and maintain quality standards that match traditional manufacturing.
In my experience, the biggest win came when we printed an entire product line’s packaging in-house. The time saved on shipping and assembly alone justified the investment in a high‑end industrial printer. What has been your most challenging 3D printing project, and how did you overcome the obstacle?


